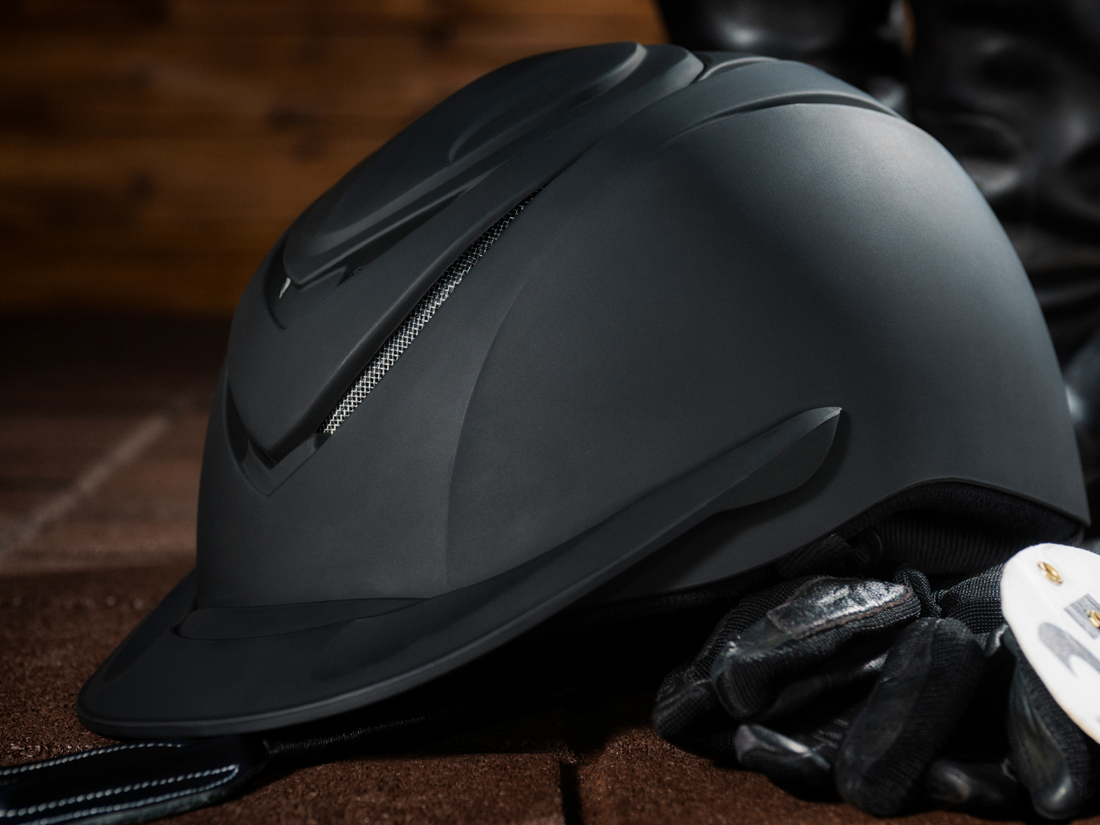
How to: Wash Your Helmet Liner
Michelle DrumIt’s summer, and here in the South East we’ve had an uncharacteristically hot summer. If you are riding at least one horse a day, this can quickly make for a stinky situation with your helmet!
It’s recently come to my attention there’s a whole age bracket or riders who had no idea, they could remove and wash or even replace the liner inside their helmet. We’re here to tell you, it’s a real, and absolutely a thing. Ladies with forehead acne issues, this is for you!
Step one.
Gently remove the liner from inside of your helmet, it should be attached with snaps or velcro.
Pay special attention to the orientation of the liner within your helmet – you’ll need to recall this info later when the liner is try and it’s time snap it back in.
Step two.
Fill a sink (clean bucket at the barn) with some clean lukewarm water, the water should not be hot, err on the side of cool to lukewarm. Thoroughly rinse your helmet in the water – repeat after me if you’ve never done this.. EWWWWWWWWWW.. Yes, that water is gross, and that has been living against your forehead every time you ride. If you are a first timer at this, I suggest letting the liner sit in the water for about 5-10 minutes to really soak out the funk.
Step three.
Pre Rinse: Drain sink ( empty filthy water from clean bucket at barn) rinse and fill with more clean water. Continue to rinse the liner until the water runs fairly clean.
Step four.
Soap it up! Really work the soap into all of the padding until it’s nice and foamy. What kind of soap should you use? Great question! I prefer to use a gentle daily facial cleansing soap. I would avoid using shampoo from the wash rack, hand soap, kitchen soap etc. These soaps often have perfumes and conditioners in them that are great for dishes, hands and horse bathing but could potentially cause acne break outs.
Step five.
Rinse, rinse, rinse!! You know you’re finished rinsing, when the water runs clear and there are NO bubbles in the rinse water.
Step six.
Rinse it again for good measure!
Step seven.
Squeeze excess water from liner, towel dry with a fresh CLEAN towel. 10/10 do not recommend the random barn towel that looks clean. But is it really? Who used it last and where did they use it? be kind do your skin, find a clean towel or skip the towel dry and go straight for step 8.
Step eight
Air dry, find a clean spot at the barn and hang it to dry. My go to is usually my tack hook
Step Nine
Once dry snap back into helmet – this is where step one is going to be very handy! Remember to rinse once a week during Spring Summer and Fall. Winter months you can probably go to monthly rinsing. Depending on how much and how often you ride how often it needs a full wash will vary.
Step Ten
Now for those interior straps of your helmet that rub or touch your face. *Check with your helmet manufacturer for guidance here. I like to use gentle oil free hypo allergenic makeup wipes on these parts after a ride. It cleans off the sweat, bacteria, sun screen/make up residue etc.
Now you’re helmet is fresh and clean and ready to ride! Sure you can probably tuck it in a lingerie bag and throw it in the washing machine, but my issues with this are: The liner will probably sit in my car for a week before I remember to bring it in the house. Thus creating a cycle of back in the helmet, back in the car. If it finally does make it home, It’s going to be another 10 days after I wash it before I remember to put it BACK IN THE CAR and bring it to the barn. For me it’s easier to keep some gentle soap at the barn and not mess with the whole “WHERE’S THE HELMET LINER?” Routine.
